
Hi all!
I hope that you are doing well, safe, and healthy!
In this journal, I would like to share how to deploy a static web application using the Google Cloud Storage bucket for hosting with HTTPS Load Balancer. So it will be safely accessible from outside.
What makes it different from static web hosted on other platforms? Using this HTTPS Load Balancer will ensure the communication and/or user requests will be secure using the HTTPS 443 Protocol.
You may see the diagram below:

The data flow is:
- When external users access a static website from outside, the request will forward to the Load Balancer system.
- Like a gate, the forwarding rule is the first part that needs to be passed. It contains the public IP along with the port used by the application. The forwarding rule is responsible for forwarding requests to the respective HTTP(S) proxy targets.
- Once received by the target HTTP(S) proxy, the request will be evaluated using the URL Map to determine where to forward the request. For example, in this journal will be forwarded to the GCS backend, which contains the application. In this section also, we can add security using an SSL certificate to make it even more secure.
Let’s jump in.
Here. I am using Google Cloud SDK for configuration. First, we have to define the environment variables.
export PROJECT_ID=$(gcloud config get-value project)
export PROJECT_USER=$(gcloud config get-value core/account)
export PROJECT_NUMBER=$(gcloud projects describe $PROJECT_ID --format="value(projectNumber)")

# Workload identity domain
export IDNS=${PROJECT_ID}.svc.id.goog

export GCP_REGION="asia-southeast2"
export GCP_ZONE="asia-southeast2-b"

export NETWORK_NAME="default"
And enable the appropriate APIs
# enable apis
gcloud services enable compute.googleapis.com \
    storage.googleapis.com
To verify which APIs is enabled, we can use the command below:
gcloud services list --enabled | head -25 | tail -15

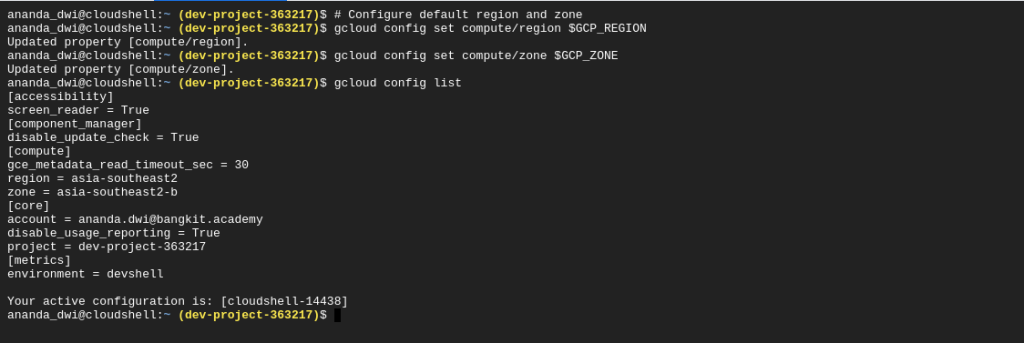
Set default region and zone to avoid wrong location
# Configure default region and zone
gcloud config set compute/region $GCP_REGION
gcloud config set compute/zone $GCP_ZONE
To verify all configuration is correct, use the command below:
gcloud config list
We need to create a new bucket in GCS to store the static files. We can use gcloud or gsutil command-line tool that provided by Google Cloud to create it. For example, I create a bucket named pengedit-markdown-sept2022site
# create a storage bucket
export BUCKET_NAME="pengedit-markdown-sept2022site"
gsutil mb -b on gs://$BUCKET_NAME

gsutil ls

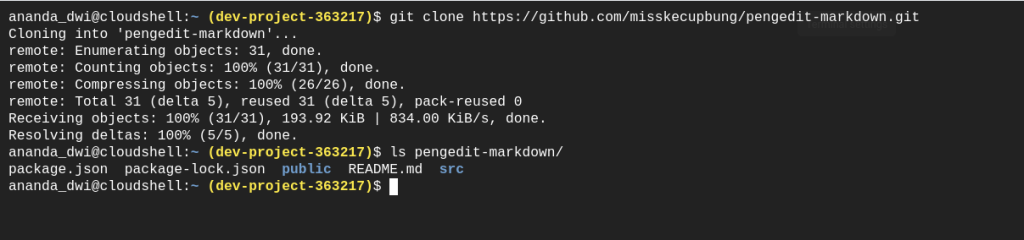
I will use a react app I created before for this scenario. So, I need to clone from the repository first, and run npm run build command to provide a build directory for production-ready application
# Setup the application
APP_NAME="pengedit-markdown"
git clone https://github.com/misskecupbung/pengedit-markdown
cd $APP_NAME
npm i react-scripts
npm run build
cd ../
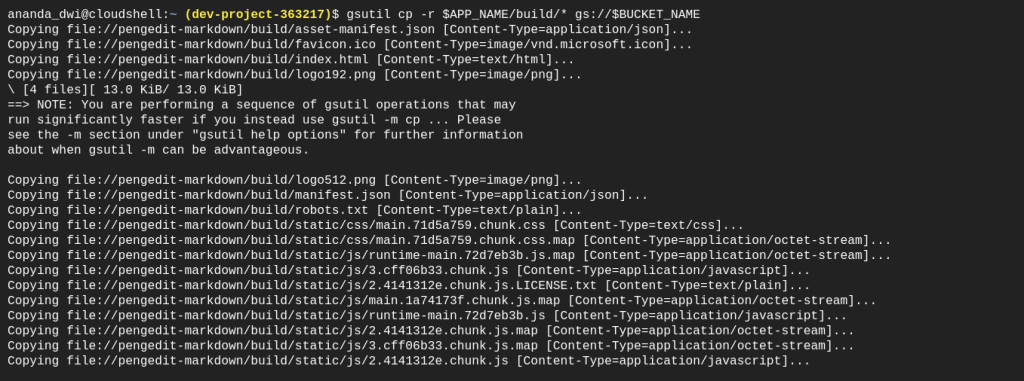
Copy all the sources code in build directory to the bucket newly created.
# upload site files
gsutil cp -r $APP_NAME/build/* gs://$BUCKET_NAME
For making it accessible from outside, we need to configure permission too. It must be accessible by anyone with read-only access.
# set read permissions for public
gsutil iam ch allUsers:objectViewer gs://$BUCKET_NAME

# set 404 to redirect to index.html page
gsutil web set -m index.html -e index.html gs://$BUCKET_NAME

Prepare the dishes is finished.
Now, we are going to set up the HTTPS Load Balancer which will serve to handle external requests from outside. Before that, I will define the environment variable for IP Public and SSL Certificate that I will request and domain name that I will use
export ADDRESS_NAME="my-public-ip"
export CERTIFICATE_NAME="pengedit-markdown-ssl"
export DOMAIN="pengedit-markdown.dwiananda.me"
Request a dedicated Public IP with command below. This IP will be used by the web application.
# reserve external IP
gcloud compute addresses create $ADDRESS_NAME --global

After that, go to your own DNS Management and point the domain to the appropriate IP Address before. Make sure it is resolved by a command similar nslookup or dig.

Fortunately! And maybe this is also one of the huge benefits when we use HTTPS Load Balancer, we can request an SSL Certificate that we can use on the target HTTPS or target SSL proxy just by one line command.
# create a certificate
gcloud compute ssl-certificates create $CERTIFICATE_NAME \
    --description=$DOMAIN \
    --domains=$DOMAIN \
    --global

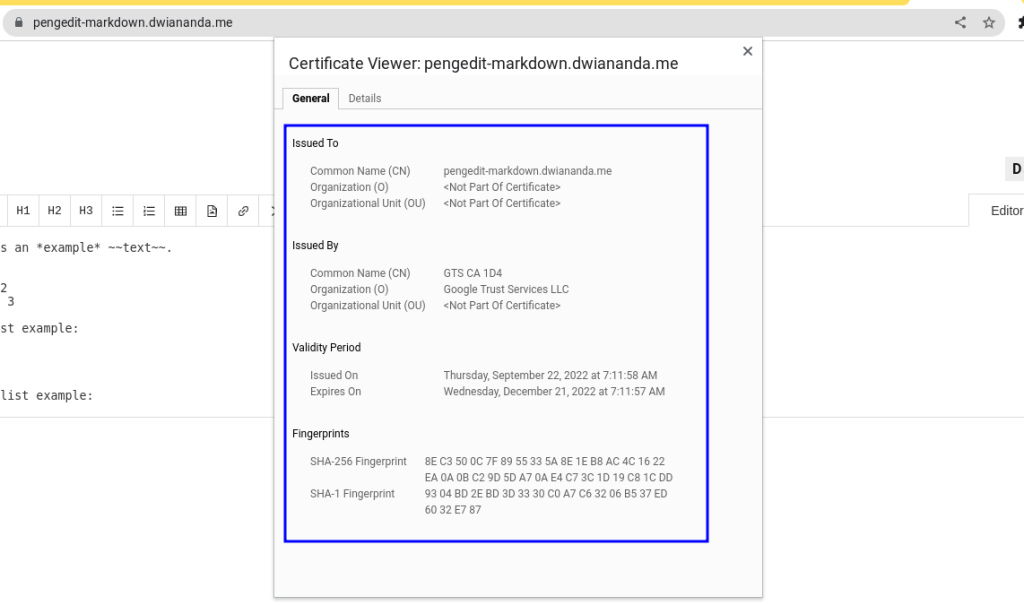
The requesting process may consume around 20-40 minutes depending on the issuer. Please wait until the status changes into ACTIVE.
We can also verify the SSL Certificate from the cloud console like below

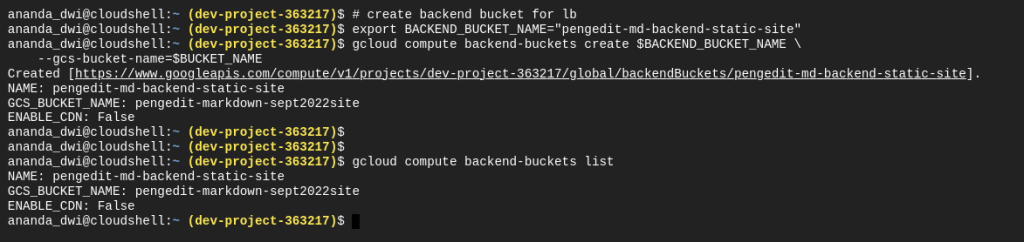
And then, we also need to create a backend service that will distribute the requests to the healthy backends. In this case, it is a GCS bucket.
# create backend bucket for lb
export BACKEND_BUCKET_NAME="pengedit-md-backend-static-site"
gcloud compute backend-buckets create $BACKEND_BUCKET_NAME \
    --gcs-bucket-name=$BUCKET_NAME
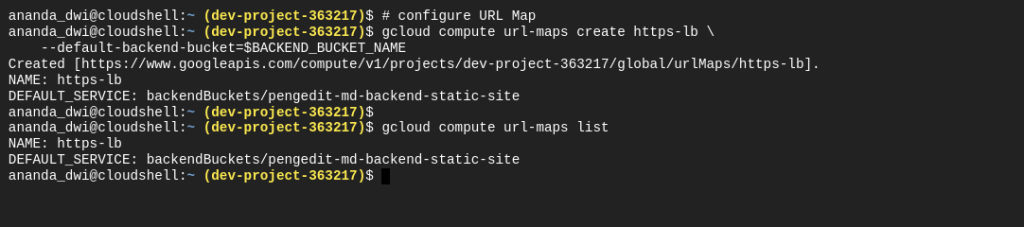
Define a backend service created before in a URL MAP
# configure URL Map
gcloud compute url-maps create https-lb \
    --default-backend-bucket=$BACKEND_BUCKET_NAME
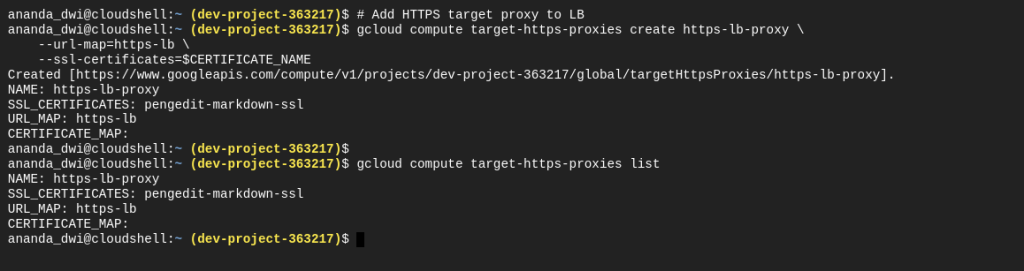
And create a target HTTPS Proxy which configured URL Map and SSL Certificate created before.
# Add HTTPS target proxy to LB
gcloud compute target-https-proxies create https-lb-proxy \
    --url-map=https-lb \
    --ssl-certificates=$CERTIFICATE_NAME
After the target HTTPS proxy is created, create a new forwarding rule that connected to the target.
# Configure Forwarding Rule
gcloud compute forwarding-rules create https-content-rule \
    --load-balancing-scheme=EXTERNAL \
    --network-tier=PREMIUM \
    --address=$ADDRESS_NAME \
    --global \
    --target-https-proxy=https-lb-proxy \
    --ports=443

Don’t forget to create a firewall rule to allow the incoming request from outside using TCP port 80 and 443.
# Add a firewall rule
gcloud compute firewall-rules create allow-http-https-traffic \
    --direction=INGRESS \
    --priority=10000 \
    --action=ALLOW \
    --rules=tcp:80,tcp:443 \
    --source-ranges=0.0.0.0/0

And that is. After all the configuration is successfully. We can verify the web application using command-line tool similar like cURL or using browser instead.
References:
- https://cloud.google.com/load-balancing/docs/https#global
- https://cloud.google.com/sdk/gcloud/reference/compute/ssl-certificates
- https://github.com/misskecupbung/pengedit-markdown
Cheers!

kak , untuk ADDRESS_NAME , CERTIFICATE_NAME & DOMAIN itu bakal ke generate sendiri oleh GCP atau kita sendiri yang harus buat/beli?
LikeLiked by 1 person
Halo! Thank you sebelumnya udah mampir:) untuk parameter2 tsb harus define sendiri ya
LikeLike